Настройка веб-сайта WordPress на Arch Linux / Manjaro
WordPress — одна из наиболее часто используемых CMS-систем в мире. Его успешное внедрение является результатом модели с открытым исходным кодом и огромного сообщества вокруг программного обеспечения. WordPress под лицензией GPLv2 и имеет множество тем и плагинов, что упрощает настройку. В этом руководстве я покажу полные шаги по настройке веб-сайта WordPress на Arch Linux / Manjaro Linux. Эта установка будет включать настройку базы данных php и mysql .
WordPress — это простая в настройке и администрировании платформа, но при этом очень мощная система управления контентом. Вся установка и настройка WordPress в Arch Linux — это чистый и простой процесс, поэтому приступим.
Шаг 1. Обновите систему Arch Linux / Manjaro
Начнем установку с обновления системы:
$ sudo pacman -Syu
:: Synchronizing package databases...
 core is up to date
 extra                                                              1549.6 KiB  3.78 MiB/s 00:00 [#########################################################] 100%
 community                                                             5.5 MiB  8.95 MiB/s 00:01 [#########################################################] 100%
:: Starting full system upgrade...
resolving dependencies...
looking for conflicting packages...

Packages (1) libldap-2.4.58-3

Total Download Size:   0.30 MiB
Total Installed Size:  0.91 MiB
Net Upgrade Size:      0.00 MiB

:: Proceed with installation? [Y/n] y
Шаг 2. Установите веб-сервер Apache httpd
После обновления системы выполните установку веб-сервера Apache:
$ sudo pacman -Sy apache vim bash-completion
:: Synchronizing package databases...
 core is up to date
 extra is up to date
 community is up to date
resolving dependencies...
looking for conflicting packages...

Packages (3) apr-1.7.0-3  apr-util-1.6.1-8  apache-2.4.47-1

Total Download Size:   2.10 MiB
Total Installed Size:  8.16 MiB

:: Proceed with installation? [Y/n] y
Установить имя сервера:
$ sudo vim /etc/httpd/conf/httpd.conf
ServerName mysite.example.com
После установки запустите веб-сервер Apache:
sudo systemctl enable --now httpdПодтвердим статус услуги:
$ systemctl status httpd
● httpd.service - Apache Web Server
     Loaded: loaded (/usr/lib/systemd/system/httpd.service; enabled; vendor preset: disabled)
     Active: active (running) since Fri 2021-05-28 19:49:13 UTC; 37s ago
   Main PID: 814 (httpd)
      Tasks: 82 (limit: 2336)
     Memory: 6.8M
        CPU: 30ms
     CGroup: /system.slice/httpd.service
             ├─814 /usr/bin/httpd -k start -DFOREGROUND
             ├─815 /usr/bin/httpd -k start -DFOREGROUND
             ├─816 /usr/bin/httpd -k start -DFOREGROUND
             └─817 /usr/bin/httpd -k start -DFOREGROUND

May 28 19:49:13 archlinux systemd[1]: Started Apache Web Server.
Шаг 3: Установите PHP в Arch Linux / Manjaro Linux
Выполните следующие команды, чтобы установить PHP и базовые расширения в Arch Linux / Manjaro:
$ sudo pacman -Sy php php-{cgi,gd,pgsql,fpm,apache}
:: Synchronizing package databases...
 core is up to date
 extra is up to date
 community is up to date
resolving dependencies...
looking for conflicting packages...
warning: dependency cycle detected:
warning: harfbuzz will be installed before its freetype2 dependency

Packages (38) aom-3.1.0-1  dav1d-0.9.0-1  fontconfig-2:2.13.93-4  freetype2-2.10.4-1  gd-2.3.2-2  giflib-5.2.1-2  graphite-1:1.3.14-1  harfbuzz-2.8.1-1
              libavif-0.9.0-2  libde265-1.0.8-1  libheif-1.12.0-1  libice-1.0.10-3  libjpeg-turbo-2.1.0-1  libpng-1.6.37-3  libsm-1.2.3-2  libtiff-4.3.0-1
              libwebp-1.2.0-1  libx11-1.7.1-1  libxau-1.0.9-3  libxcb-1.14-1  libxdmcp-1.1.3-3  libxext-1.3.4-3  libxpm-3.5.13-2  libxt-1.2.1-1
              libyuv-r2212+dfaf7534-2  libzip-1.7.3-2  oniguruma-6.9.7.1-1  postgresql-libs-13.3-2  rav1e-0.4.1-1  svt-av1-0.8.7-1  x265-3.5-1
              xcb-proto-1.14.1-3  xorgproto-2021.4-1  php-8.0.6-1  php-cgi-8.0.6-1  php-fpm-8.0.6-1  php-gd-8.0.6-1  php-pgsql-8.0.6-1

Total Download Size:    27.55 MiB
Total Installed Size:  143.27 MiB

:: Proceed with installation? [Y/n] y
Раскомментируйте следующие строки в /etc/php/php.ini для расширений MySQL / MariaDB:
$ sudo vim /etc/php/php.ini
extension=pdo_mysql
extension=mysqli
Шаг 4: Установите сервер базы данных MariaDB
Далее идет установка сервера базы данных MariaDB на Arch Linux / Manjaro:
$ sudo pacman -S libmariadbclient mariadb mariadb-clients
resolving dependencies...
looking for conflicting packages...

Packages (6) jemalloc-1:5.2.1-3  libaio-0.3.112-2  lzo-2.10-3  mariadb-10.5.10-1  mariadb-clients-10.5.10-1  mariadb-libs-10.5.10-1

Total Download Size:    36.35 MiB
Total Installed Size:  305.29 MiB

:: Proceed with installation? [Y/n] y
Инициализируйте сервер базы данных, используя следующие команды:
$ sudo mysql_install_db --user=mysql --basedir=/usr --datadir=/var/lib/mysql
Installing MariaDB/MySQL system tables in '/var/lib/mysql' ...
OK

To start mysqld at boot time you have to copy
support-files/mysql.server to the right place for your system


Two all-privilege accounts were created.
One is root@localhost, it has no password, but you need to
be system 'root' user to connect. Use, for example, sudo mysql
The second is mysql@localhost, it has no password either, but
you need to be the system 'mysql' user to connect.
After connecting you can set the password, if you would need to be
able to connect as any of these users with a password and without sudo

See the MariaDB Knowledgebase at https://mariadb.com/kb or the
MySQL manual for more instructions.

You can start the MariaDB daemon with:
cd '/usr' ; /usr/bin/mysqld_safe --datadir='/var/lib/mysql'

You can test the MariaDB daemon with mysql-test-run.pl
cd '/usr/mysql-test' ; perl mysql-test-run.pl

Please report any problems at https://mariadb.org/jira

The latest information about MariaDB is available at https://mariadb.org/.
You can find additional information about the MySQL part at:
https://dev.mysql.com
Consider joining MariaDB's strong and vibrant community:
https://mariadb.org/get-involved/
Запустите и включите службу MariaDB:
sudo systemctl enable --now mysqld.serviceЗащитите свой сервер базы данных:
$ sudo mysql_secure_installation
NOTE: RUNNING ALL PARTS OF THIS SCRIPT IS RECOMMENDED FOR ALL MariaDB
      SERVERS IN PRODUCTION USE!  PLEASE READ EACH STEP CAREFULLY!

In order to log into MariaDB to secure it, we'll need the current
password for the root user. If you've just installed MariaDB, and
haven't set the root password yet, you should just press enter here.

Enter current password for root (enter for none):
OK, successfully used password, moving on...

Setting the root password or using the unix_socket ensures that nobody
can log into the MariaDB root user without the proper authorisation.

You already have your root account protected, so you can safely answer 'n'.

Switch to unix_socket authentication [Y/n] y
Enabled successfully!
Reloading privilege tables..
 ... Success!


You already have your root account protected, so you can safely answer 'n'.

Change the root password? [Y/n] y
New password:
Re-enter new password:
Password updated successfully!
Reloading privilege tables..
 ... Success!


By default, a MariaDB installation has an anonymous user, allowing anyone
to log into MariaDB without having to have a user account created for
them.  This is intended only for testing, and to make the installation
go a bit smoother.  You should remove them before moving into a
production environment.

Remove anonymous users? [Y/n] y
 ... Success!

Normally, root should only be allowed to connect from 'localhost'.  This
ensures that someone cannot guess at the root password from the network.

Disallow root login remotely? [Y/n] y
 ... Success!

By default, MariaDB comes with a database named 'test' that anyone can
access.  This is also intended only for testing, and should be removed
before moving into a production environment.

Remove test database and access to it? [Y/n] y
 - Dropping test database...
 ... Success!
 - Removing privileges on test database...
 ... Success!

Reloading the privilege tables will ensure that all changes made so far
will take effect immediately.

Reload privilege tables now? [Y/n] y
 ... Success!

Cleaning up...

All done!  If you've completed all of the above steps, your MariaDB
installation should now be secure.

Thanks for using MariaDB!
Откройте оболочку MySQL от имени пользователя root:
$ mysql -u root -p
Enter password:
Welcome to the MariaDB monitor.  Commands end with ; or \g.
Your MariaDB connection id is 14
Server version: 10.5.10-MariaDB Arch Linux

Copyright (c) 2000, 2018, Oracle, MariaDB Corporation Ab and others.

Type 'help;' or '\h' for help. Type '\c' to clear the current input statement.

MariaDB [(none)]>
Создайте базу данных для WordPress, пользователя и предоставьте права:
CREATE DATABASE wordpress;
GRANT ALL ON wordpress.* TO wordpress@localhost IDENTIFIED BY 'StrongPassword';
FLUSH PRIVILEGES;
\q
Не забудьте изменить имя пользователя и базы данных WordPress соответственно.
Шаг 5: Загрузите WordPress в Arch Linux / Manjaro
Загрузите последнюю версию WordPress:
curl -O https://wordpress.org/latest.tar.gzРаспакуйте скачанный файл:
tar xvf latest.tar.gzПереместите полученную папку wordpress в каталог /srv/http/ :
sudo mv wordpress /srv/http/mysiteСоздайте файл конфигурации:
sudo mv /srv/http/mysite/wp-config-sample.php /srv/http/mysite/wp-config.phpИзмените файл и предоставьте сведения о подключении к базе данных:
$ sudo vim /srv/http/mysite/wp-config.php
// ** MySQL settings - You can get this info from your web host ** //
/** The name of the database for WordPress */
define( 'DB_NAME', 'wordpress' );

/** MySQL database username */
define( 'DB_USER', 'wordpress' );

/** MySQL database password */
define( 'DB_PASSWORD', 'StrongPassword' );
Установите права доступа к корневому веб-каталогу:
sudo chown -R root:http /srv/http/mysiteИзмените файл VirtualHost, чтобы он выглядел, как показано ниже:
$ sudo vim /etc/httpd/conf/extra/httpd-vhosts.conf
<VirtualHost *:80>
    ServerAdmin webmaster@.example.com
    DocumentRoot "/srv/http/mysite"
    ServerName mysite.example.com
    ServerAlias www.mysite.example.com
    ErrorLog "/var/log/httpd/mysite-error_log"
    CustomLog "/var/log/httpd/mysite-access_log" common
</VirtualHost>
Где:
- mysite.com ваше действительное доменное имя
- /srv/http/mysite это ваш корневой каталог установки WordPress
- webmaster@.example.com это адрес электронной почты администратора.
Отредактируйте основной файл конфигурации httpd, чтобы загрузить файл /etc/httpd/conf/extra/httpd-vhosts.conf .
$ sudo vim /etc/httpd/conf/httpd.conf
# Virtual hosts - Uncomment the line
Include conf/extra/httpd-vhosts.conf
В /etc/httpd/conf/httpd.conf прокомментируйте строку:
#LoadModule mpm_event_module modules/mod_mpm_event.soРаскомментируйте строку:
LoadModule mpm_prefork_module modules/mod_mpm_prefork.soЧтобы включить PHP, добавьте эти строки в /etc/httpd/conf/httpd.conf в конце списка LoadModule :
LoadModule php_module modules/libphp.so
AddHandler php-script .php
Поместите это в конец списка Включить:
Include conf/extra/php_module.confШаг 6. Настройте WordPress из веб-консоли
Откройте http://mysite.com, чтобы начать установку WordPress. Вы должны получить страницу начальной установки, которая выглядит примерно так, как показано ниже.
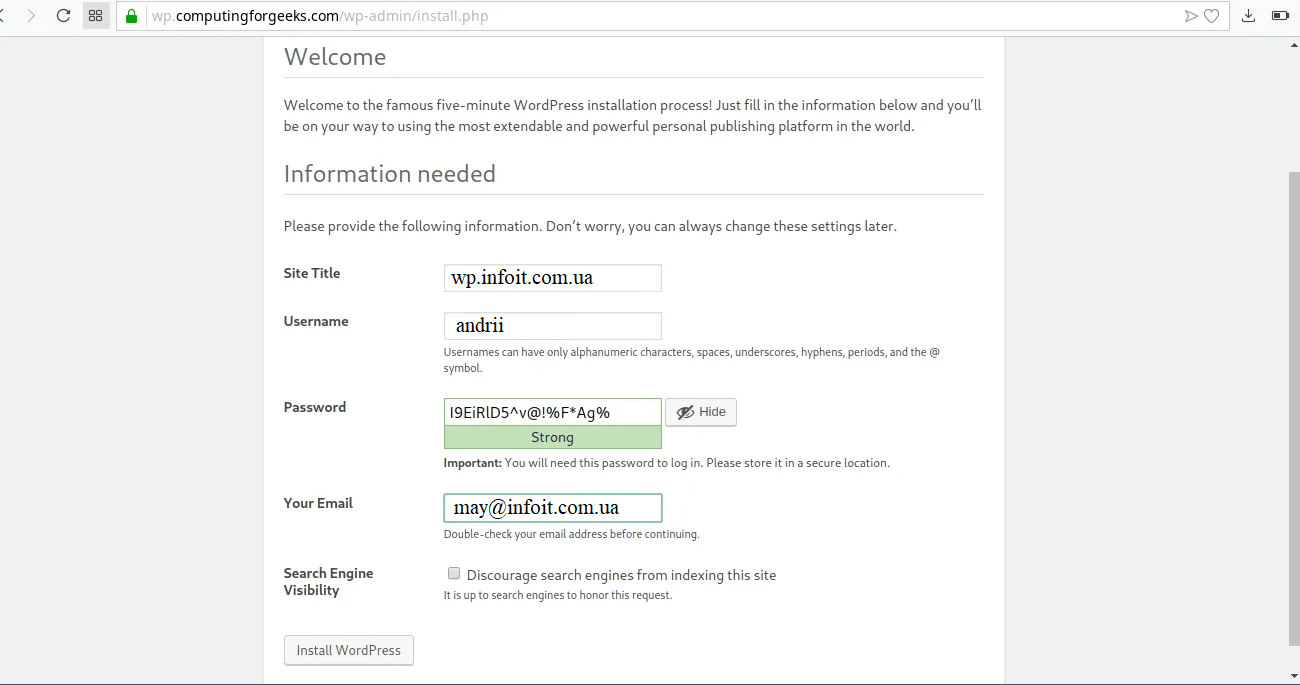
Введите необходимую информацию и нажмите кнопку «Установить WordPress» . Если все пойдет хорошо, вы должны получить страницу входа.
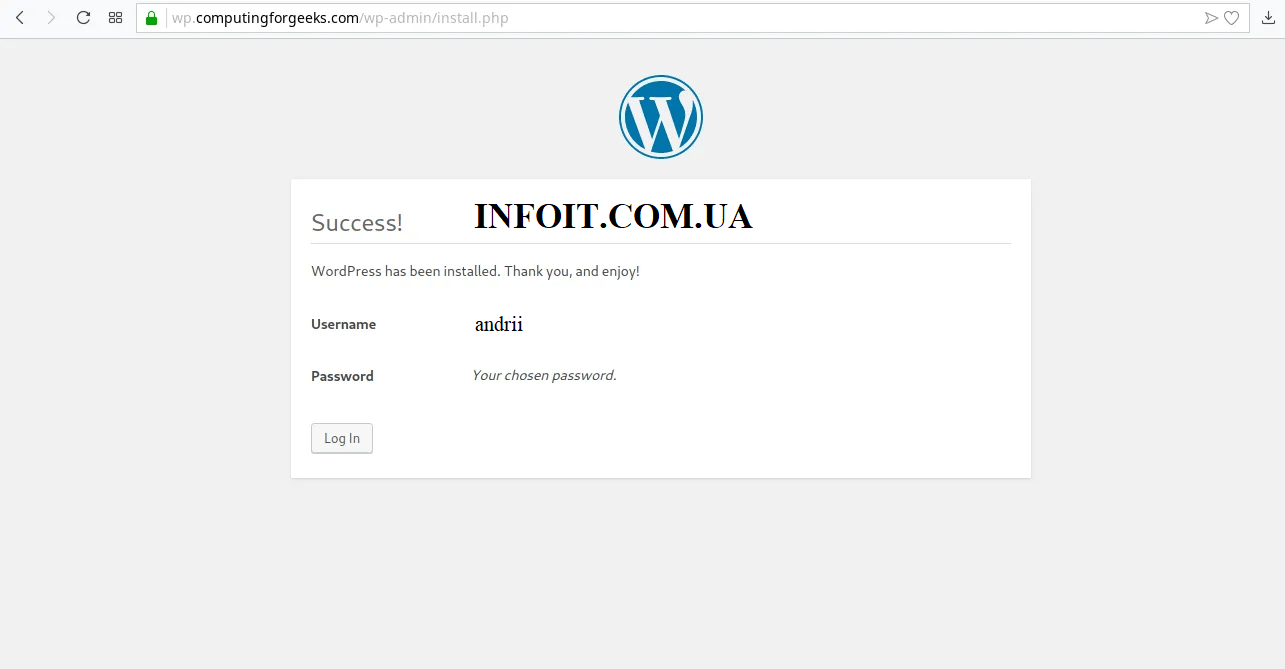
Нажмите «Войти» и укажите имя пользователя и пароль.
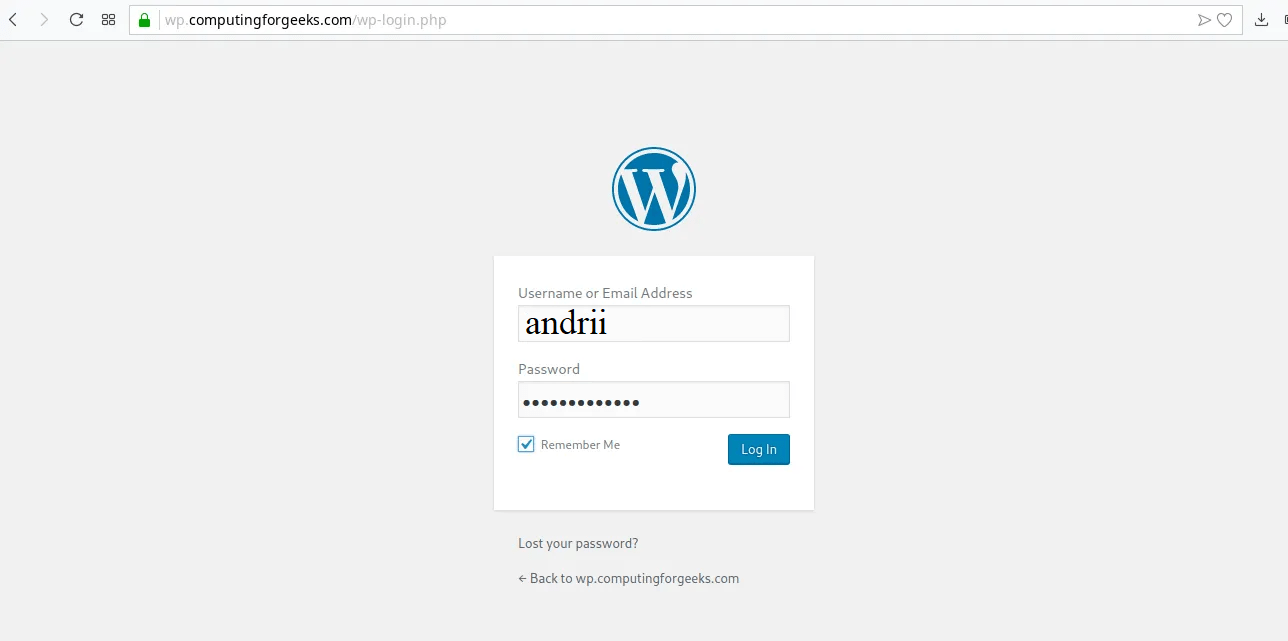
При входе в систему вы должны попасть на панель администратора WordPress.
Заключение
Мы рассмотрели, как настроить WordPress и настроили в Arch Linux все необходимое для запуска и размещения сайта WordPress. Теперь вы можете настроить WordPress и добавить любой плагин, который хотите, но будьте осторожны с количеством подключаемых плагинов, которые вы активируете, поскольку они могут серьезно повлиять на ваш сайт.