Как установить MariaDB 10.4 в Ubuntu 18.04 / Ubuntu 16.04
Как установить MariaDB 10.4 в Ubuntu 18.04 / Ubuntu 16.04 ?. Могу ли я установить MariaDB 10.4 в Ubuntu 18.04 / Ubuntu 16.04 из репозитория APT? MariaDB — это быстрая замена MySQL с большим количеством функций, новыми механизмами хранения и лучшей производительностью. Вы можете прочитать больше о возможностях MariaDB 10.4 с официального сайта.
Установите MariaDB 10.4 на Ubuntu 18.04 / Ubuntu 16.04
Чтобы установить MariaDB 10.4 в Ubuntu 18.04 / Ubuntu 16.04, вам необходимо добавить репозиторий MariaDB в систему.
Шаг 1: Установите свойства программного обеспечения — общие, если они отсутствуют:
sudo apt update
sudo apt-get install software-properties-common
Шаг 2. Импортируйте ключ MariaDB gpg:
Запустите команду ниже, чтобы добавить ключ хранилища в систему
sudo apt-key adv --recv-keys --keyserver hkp://keyserver.ubuntu.com:80 0xF1656F24C74CD1D8
Шаг 3: Добавьте репозиторий apt
После импорта ключа PGP перейдите к добавлению URL-адреса хранилища:
sudo add-apt-repository "deb [arch=amd64,arm64,ppc64el] http://mariadb.mirror.liquidtelecom.com/repo/10.4/ubuntu $(lsb_release -cs) main"
Если у вас нет add-apt-repository в вашей системе. проверьте, как установить add-apt-repository в Debian / Ubuntu 18.04 / 16.04
Шаг 4: Установите сервер MariaDB на Ubuntu 18.04 / Ubuntu 16.04
Последний шаг — установка сервера MariaDB:
sudo apt update
sudo apt -y install mariadb-server mariadb-client
Вам будет предложено ввести корневой пароль MariaDB, введите пароль для установки.
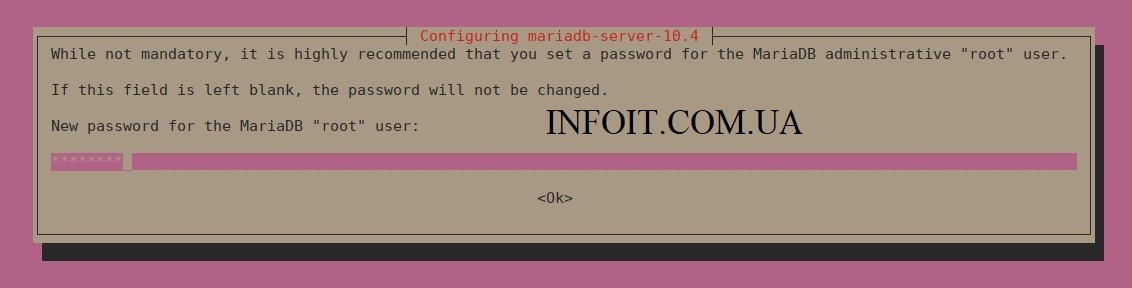
Подтвердите Пароль:
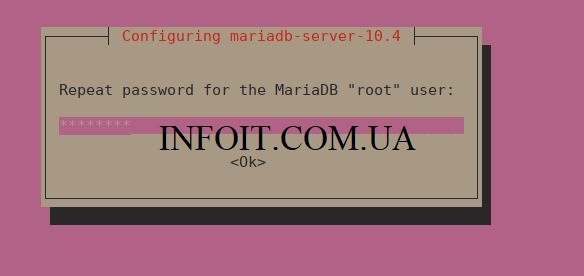
Нажмите <Ok>, чтобы подтвердить новый пароль и установить MariaDB. Убедитесь, что вы запомнили или сохранили предоставленный пароль в вашем любимом менеджере паролей.
Если вы не получили приглашение установить пароль, запустите сценарий защиты MySQL вручную.
$ sudo mysql_secure_installation

NOTE: RUNNING ALL PARTS OF THIS SCRIPT IS RECOMMENDED FOR ALL MariaDB
      SERVERS IN PRODUCTION USE!  PLEASE READ EACH STEP CAREFULLY!

In order to log into MariaDB to secure it, we'll need the current
password for the root user. If you've just installed MariaDB, and
haven't set the root password yet, you should just press enter here.

Enter current password for root (enter for none):
OK, successfully used password, moving on...

Setting the root password or using the unix_socket ensures that nobody
can log into the MariaDB root user without the proper authorisation.

You already have your root account protected, so you can safely answer 'n'.

Switch to unix_socket authentication [Y/n] y
Enabled successfully!
Reloading privilege tables..
 ... Success!


You already have your root account protected, so you can safely answer 'n'.

Change the root password? [Y/n] y
New password:
Re-enter new password:
Password updated successfully!
Reloading privilege tables..
 ... Success!


By default, a MariaDB installation has an anonymous user, allowing anyone
to log into MariaDB without having to have a user account created for
them.  This is intended only for testing, and to make the installation
go a bit smoother.  You should remove them before moving into a
production environment.

Remove anonymous users? [Y/n] y
 ... Success!

Normally, root should only be allowed to connect from 'localhost'.  This
ensures that someone cannot guess at the root password from the network.

Disallow root login remotely? [Y/n] y
 ... Success!

By default, MariaDB comes with a database named 'test' that anyone can
access.  This is also intended only for testing, and should be removed
before moving into a production environment.

Remove test database and access to it? [Y/n] y
 - Dropping test database...
 ... Success!
 - Removing privileges on test database...
 ... Success!

Reloading the privilege tables will ensure that all changes made so far
will take effect immediately.

Reload privilege tables now? [Y/n] y
 ... Success!

Cleaning up...

All done!  If you've completed all of the above steps, your MariaDB
installation should now be secure.

Thanks for using MariaDB!
Служба должна быть запущена автоматически после установки.
$ sudo systemctl status mysql
* mariadb.service - MariaDB 10.4.1 database server
   Loaded: loaded (/lib/systemd/system/mariadb.service; enabled; vendor preset: enabled)
  Drop-In: /etc/systemd/system/mariadb.service.d
           `-migrated-from-my.cnf-settings.conf
   Active: active (running) since Tue 2018-12-25 08:26:18 PST; 24min ago
     Docs: man:mysqld(8)
           https://mariadb.com/kb/en/library/systemd/
 Main PID: 7564 (mysqld)
   Status: "Taking your SQL requests now..."
    Tasks: 32 (limit: 1110)
   CGroup: /system.slice/mariadb.service
           `-7564 /usr/sbin/mysqld

Dec 25 08:26:23 ubuntu-01 /etc/mysql/debian-start[7604]: Running 'mysqlcheck' with connection arguments: --port='3306' --socket='/var/run/mysqld/mysqld
Dec 25 08:26:23 ubuntu-01 /etc/mysql/debian-start[7604]: # Connecting to localhost...
Dec 25 08:26:23 ubuntu-01 /etc/mysql/debian-start[7604]: # Disconnecting from localhost...
Dec 25 08:26:23 ubuntu-01 /etc/mysql/debian-start[7604]: Processing databases
Dec 25 08:26:23 ubuntu-01 /etc/mysql/debian-start[7604]: information_schema
Dec 25 08:26:23 ubuntu-01 /etc/mysql/debian-start[7604]: performance_schema
Dec 25 08:26:23 ubuntu-01 /etc/mysql/debian-start[7604]: Phase 7/7: Running 'FLUSH PRIVILEGES'
Dec 25 08:26:23 ubuntu-01 /etc/mysql/debian-start[7604]: OK
Dec 25 08:26:23 ubuntu-01 /etc/mysql/debian-start[7706]: Checking for insecure root accounts.
Dec 25 08:26:23 ubuntu-01 /etc/mysql/debian-start[7710]: Triggering myisam-recover for all MyISAM tables and aria-recover for all Aria tables
Проверьте вход в оболочку MariaDB с помощью mysql команды:
$ mysql -u root -p
Enter password:
Welcome to the MariaDB monitor.  Commands end with ; or \g.
Your MariaDB connection id is 47
Server version: 10.4.1-MariaDB-1:10.4.1+maria~bionic-log mariadb.org binary distribution

Copyright (c) 2000, 2018, Oracle, MariaDB Corporation Ab and others.

Type 'help;' or '\h' for help. Type '\c' to clear the current input statement.
MariaDB [(none)]>
Проверьте версию с помощью команды:
MariaDB [(none)]> SELECT VERSION();
+------------------------------------------+
| VERSION()                                |
+------------------------------------------+
| 10.4.1-MariaDB-1:10.4.1+maria~bionic-log |
+------------------------------------------+
1 row in set (0.001 sec)

MariaDB [(none)]> QUIT
Bye
Шаг 5: Установите инструмент управления базами данных рабочего стола
Установите и настройте DBeaver в Ubuntu 18.04 / Ubuntu 16.04 / Debian
Это все. Наслаждайтесь использованием MariaDB 10.4 в Ubuntu 18.04 / Ubuntu 16.04.
2 комментария
Комментарии закрыты.